Tailgating pros are masters of making impressive, delicious food with very few tools for an entire crowd. Thanksgiving can be really overwhelming, especially when you’re in charge of feeding everyone. However, the same skills that help you feed the crowd at the stadium can be put to use for this holiday. If you’re looking to make your Thanksgiving meal prep easier, the team at Inside Tailgating has you covered. Here is how you can make hosting Thanksgiving easier for you and your entire family!
Table of Contents


Grilling In The Snow?
In many parts of the country, Thanksgiving also comes with snow. So we don’t really think about using our grill for cooking. However, with a few tips you can easily grill in any inclement weather. Perfect for your Thanksgiving cooking.
When winter comes around, we turn more and more to the oven and stovetop. That doesn’t have to be the case. We’ve compiled tips on winter grilling and laid out how to winterize your grill so you can prepare your favorite recipes no matter the weather. It’s time to make grilling a year-round event.
How To Winterize Your Grill
Winterizing your grill means getting it primed and ready to be used in cold weather. Some of us have spent a pretty penny on our outdoor cooking hobby, so it’s important to make sure we protect that investment so we can enjoy tasty grilled meals throughout the year.
An important part of winterizing your grill is keeping it protected from the cold when it isn’t in use. Taking active steps to winterize your grill will make your cooking process safer and tastier. It will also help maintain your grill and keep it in optimal condition.
By winterizing your grill, you can be ready to prepare a pristinely grilled meal no matter what the weather looks like outside.
Get a Grill Cover
A grill cover is the first step in maintaining your grill, no matter the weather. A grill cover is an essential tool for protecting your grill while it is not in use. When it stays covered, it is better prepared for whenever you want to grill.
The cold weather can take a toll on your grill if it is permanently stored outside. Maintenance can cost you lots of time and money cleaning your grill of rust, dirt, or snow. The grill cover is perfect for protecting your grill from moisture and cold. The last thing you want is a rusty grill.
The experts over at BBQGuys have an incredible selection of grill covers on their site. Whether you have a small charcoal grill or a Mack Daddy smoker, go over to BBQGuys.com now to protect the most underrated member of your household.
Keep Your Grill Clean
Keeping your grill thoroughly clean, both inside and out, is vital for maintaining the pristine state of your grill. It also ensures that your food can cook as it should. Always clean your grill when you are done using it, and make sure there is no leftover food stuck to it. Cover it, and store it somewhere where it can stay clean.
Along with routine maintenance after cooking, giving your entire grill an extensive clean twice a year is a smart routine to start. This cleaning includes everything from grates, to burners, to the grease trap. Taking time to give your grill that extra care will increase the life of your grill.
Warm Up Your Grill First
Before you start cooking your winter BBQ, take the time to preheat the cooking surface. Let the grill have enough time to completely warm up before you put any food on it, anywhere from 10 to 30 minutes depending on your grill.
It is important to let it run for a while before you use it so that it can reach its optimal temperature. You don’t want your food to cook unevenly or take too much time because it was placed on the grill too soon. Preheating will also give your grill the chance to warm up after sitting outside all day in the cold.
Don’t Keep Checking Your Food
When grilling in the winter, it is best to keep the grill cover shut for as much of the grilling process as possible. Refrain from opening the lid to check on your food. The cold temperatures will throw off the cooking pattern of whatever it is you are grilling.
Ideally, you should only turn food items once during the grilling process. This helps retain the flavor and achieve the right cooking temps. Use a timer and thermometer while cooking your food so you know when it is hot and ready to go.
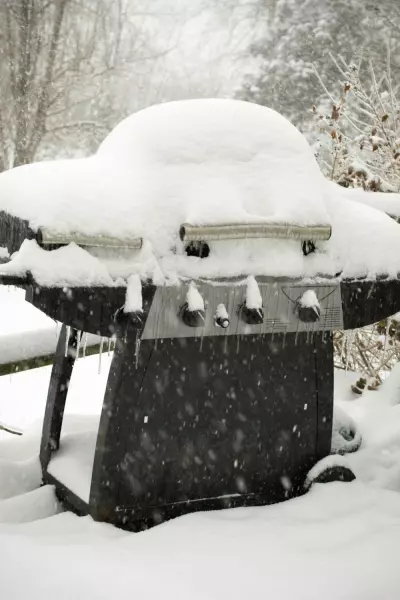
HOW TO ENJOY WINTER GRILLING
Your grill is uncovered, clean, heated, and ready to take on any grilling challenge. But first, you have to prepare yourself for the cold. There are a few tips you can use that will keep the grilling process as comfortable and efficient as possible. Keep the following advice in mind to give yourself the best winter grilling experience possible, and make sure your food comes out perfect.
Prepare Everything Inside First
Before heading out into the cold, you will want to prepare all of your food and gather your equipment, like spatulas, tongs, and scrubbers, inside where it is warm. You can do much of your food preparation in the house before and after the grilling is done.
For example, some BBQ enthusiasts opt to boil their meats inside before throwing them on the grill to facilitate the grilling process. Be sure to season all your foods, like veggies, before bringing them outside.
Layers, Layers, Layers!
Summer is best known as grilling weather because it is easy to stand outside all day long on a warm, sunny day. The winter months mean, obviously, colder weather. If you are grilling, you will likely be standing outside from start to finish of the grilling process.
If the weather’s cold, this is no easy feat. Be sure to layer up and keep your entire body warm as you grill, including gloves. Keeping cozy with sweaters and beanies makes it more bearable to be outside while you finish up your meal.
If you want to take your level of cozy to the next level, check out our friends at Gobi Heat. They offer battery-heated jackets, hats, vests, gloves and more.
Use a Well-Lit Area
Grilling in the dark can be dangerous, and you will want to keep your cooking station lit at all times. It gets darker in the winter, and the daylight is almost entirely non-existent by dinner time. Try to keep your grill in a well-lit area.
If your grill is not in a well-lit area, be sure to bring a light source with you like a lamp, flashlight, or headlamp to keep you accompanied while grilling. You can even purchase a beanie with a built-in headlamp, which will do the dual job of keeping you warm and well-lit at the same time.
Choose Quick and Easy Meals For Winter Grilling
While you will want to spend time getting that perfect grill, you do not want to be standing outside for extended periods in the cold. Do not give yourself too much to do. You will want to keep your grills straightforward and to the point in the cold and potentially dark. Luckily, as “Grilling and Boiling” states, a lot of foods cook faster on a grill than other kinds of ovens.
Our pal, celebrity chef Eddie Jackson, has a cookbook full of recipes that fit this bill. Check it out on Amazon:
Start Grilling Early
If possible, start early in the day to maintain as much daylight and warmth as possible and give yourself ample time to get your food grilled. When you BBQ in the winter, it is crucial to take your time and not rush the grilling process.
“Grilling and Broiling” also notes that food on the grill will finish cooking at different times. Keep a close eye on what food on the grill is finished, and what needs a little more time. That way, whether you are cooking meat or veggies, nothing will be over- or under-cooked.
To Deep Fry Or Not To Deep Fry
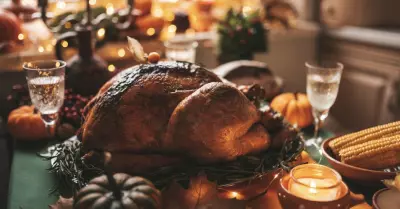
Cooking a whole turkey can take an entire day. However, deep frying a turkey can be done in under an hour depending on the size of the turkey. If you’re looking for a great shortcut to your Thanksgiving, consider frying your turkey.
Tailgating equals Thanksgiving. Here is a deep-fried turkey recipe, but please use it with caution!
ohsodelicioso.com
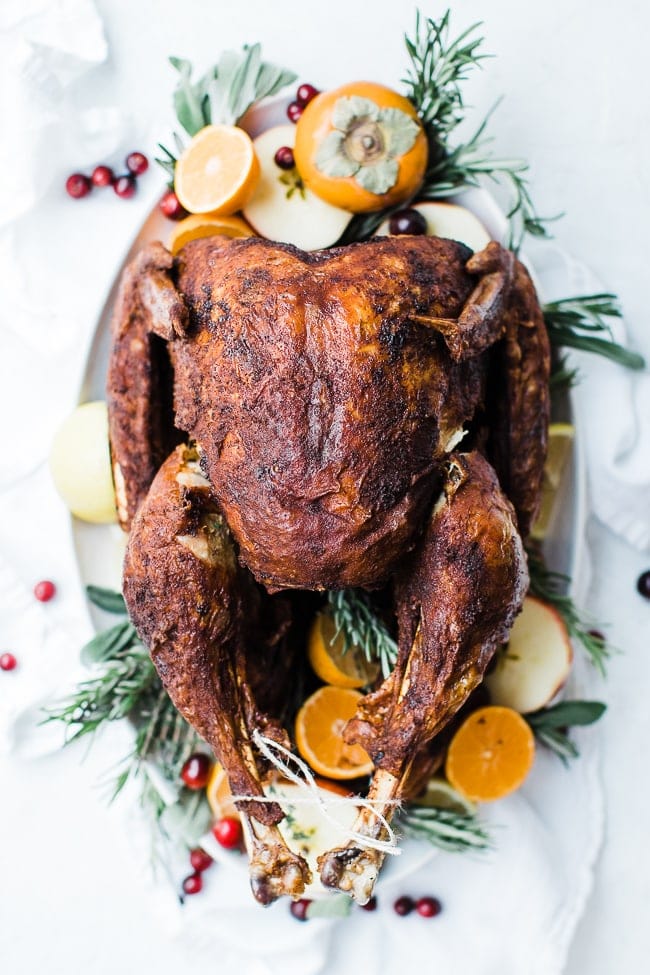
The Best Fried Turkey
Literally THE BEST fried turkey recipe you will ever eat. Step-by-step instructions, delcious rub and injection marinade recipes included!…
What About BBQ’d Turkey?
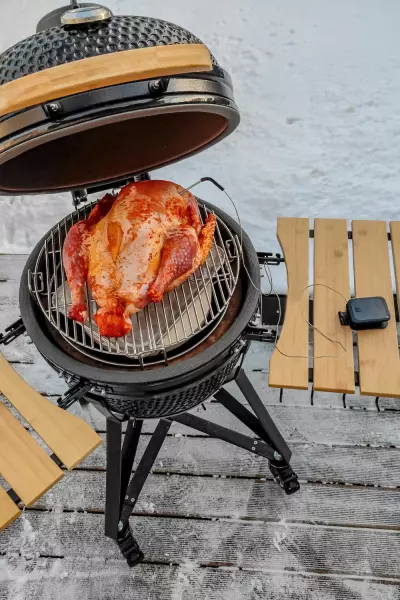
Another option for shortening the cooking time on your turkey is to grill it. This recipe uses a butchered turkey, but has some delicious results. The best part is you can use your tailgating grill!
So often it is the simplest ideas that lead us closer to perfection. If you haven’t had a turkey grilled up just right then you are definitely missing out. Give this beautiful bird recipe a test flight, so you will be ready for the main event later on this month!! “Thems parts, don’t be scared to go for the whole bird now…”
Pulled and smothered in a delicious bbq sauce, no one will know this is tailgating food and not a gourmet take on the Thanksgiving centerpiece.

deepfriedhoney.com
Eastern NC BBQ Pulled Turkey
I love BBQ Pulled turkey but didn’t realize I did until well into my adult years. I grew up in Goldsboro, North Carolina – where everything is celebrated…
Not A Turkey Fan?
Admittedly, turkey is not the most exciting meat. It can be dry and bland and is really a challenge to cook. If you’re looking for something beyond the bird, we’ve got you covered. What about serving ham instead?
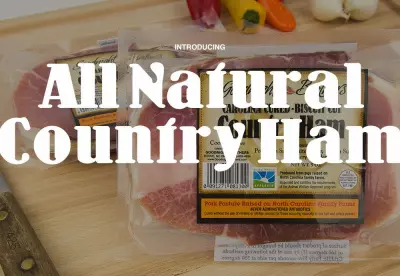
Goodnight Brothers Country Ham has rolled out an all-natural line of ham products and offers some great recipe ideas for both entertaining family on the home front and for tailgating before the big game. Being from North Carolina, we are a little biased, but this company based out of Boone, N.C. has been dry-curing hams since 1948 and is well-known throughout the Southeast.
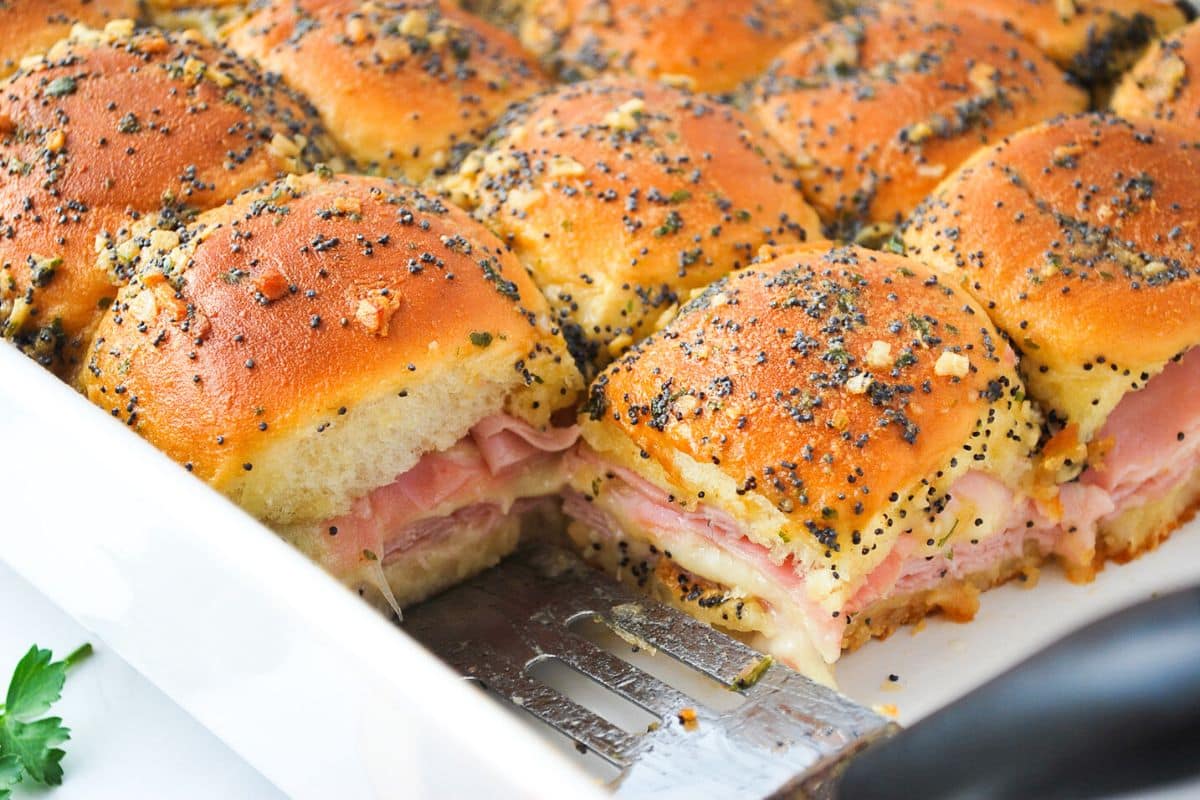
ameessavorydish.com
Ham Delights
These insanely delicious mini ham and cheese sammies deliver a blast of sweet, salty, buttery, cheesy, meaty, and savory flavor in every single ooey-gooey bite!…
Don’t Forget The Libations!
Obviously the main attraction of Thanksgiving is the spread. However, a Thanksgiving libation can be a great accompaniment to your meal. We love this recipe for a cranberry orange bellini. Bubbly and delicious, it’s a great option to serve with your Thanksgiving meal!
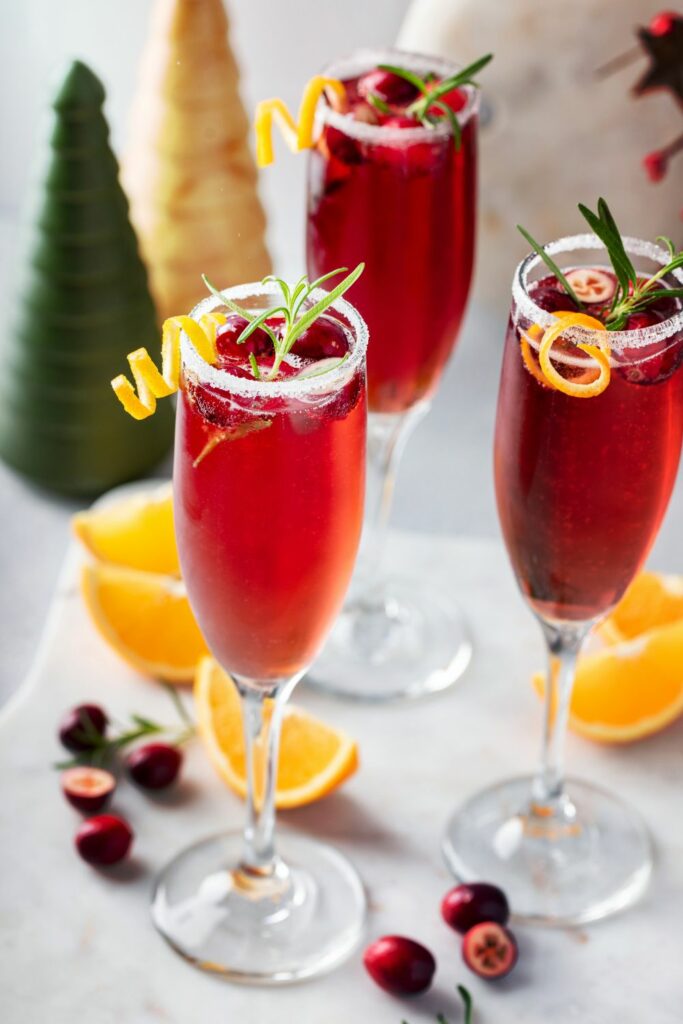
insidetailgating.com
Cranberry Orange Bellini
With just three simple ingredients, you can whip up this cranberry orange bellini easily at the stadium. It combines the tartness of cranberry with the bright, citrusy flavors of orange, creating a refreshing and balanced cocktail…
Turn To The Experts – Eddie Jackson
Our team at Inside Tailgating are definitely experts on tailgating food. However, to make a really impressive meal on Turkey Day, it’s also a good idea to consult with an expert chef. We consulted Eddie Jackson from the Food Network and learned these four tips:

1. Work Ahead
I like to prep a lot of things ahead of time. I’ll make my macaroni a week ahead of time and I’ll freeze it. That way you’re not wasting a lot of stovetop space, a lot of oven space. You can let it thaw out on the night before. Then you just heat it up and it’s ready to go.
Unless you have a large kitchen, which a lot of people don’t, you’re trying to cook four and five different things the day of, and you’re waking up early. It’s all about doing as much as you can ahead of time.
2. Break Down the Turkey
I like to spatchcock my turkey, which is taking the backbone out and spreading it out. It cooks more even, and it cooks quicker. You can actually smoke it that way too and you get a nice even smoke. I tell people you’re going to carve the turkey anyway. Take the breasts off, and somebody is going to get a leg or wing, so why not just do it before.
Just break it down like you would a chicken, season it however you want to season it, inject it if you want to, then cook all the pieces individually. Whether it’s spatchcocking your turkey or breaking your turkey down into individual pieces, it’ll cook a lot faster, and that way it saves you time and embarrassment if you’re not used to cooking in front of everybody.
3. Up Your Veggie Game
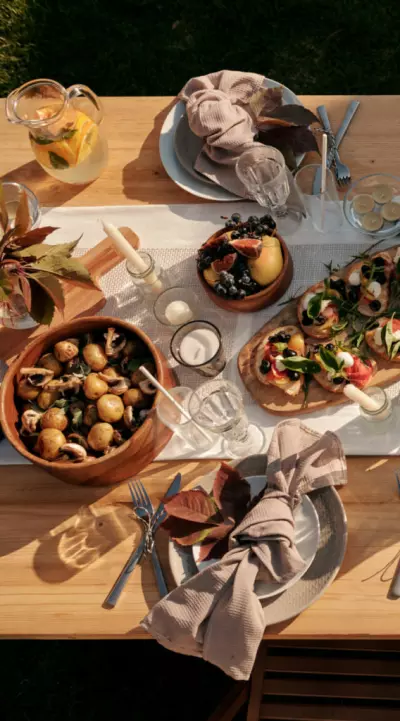
I love my collards. Growing up we did collards the old-school way with ham hock, but for me now I love to use smoked turkey. It gives it some more flavor, and it’s a little bit healthier as a protein.
I also love Brussels sprouts. There are so many different ways you can cook Brussels sprouts. You can roast them up and get them nice and golden brown. You can fry them up really quickly and get them nice and charred. You can create a nice sauce with some Balsamic vinegar and lots of garlic.
And then I like simple things I grew up on. We had a lot of green beans growing up; my grandfather had a farm so green beans were readily accessible to us. So I love to incorporate green beans on the day of as well. It’s something that’s quick and easy to put together.
Offer a Variety, Whether it’s Holiday Cooking or a Tailgate
We live in a world where everybody has all kinds of dietary restrictions, or they don’t like this, they don’t like that, or they’re going through some type of fad. I always tell people “Make sure you have different varieties,” and that’s why I created the cookbook like I did.
You may have someone who doesn’t eat a lot of red meat, so we have a lot of chicken recipes. We have salad recipes. We have different types of desserts. We have desserts that you don’t have to bake. We have desserts that are not necessarily sweet.
Wrap it Up
These tips will help you use your tailgating food skills to cook up an impressive Thanksgiving. For more tailgating food and holiday recipes, make sure to check out the food section of our website at Inside Tailgating or follow us on Facebook, Twitter, and Instagram. Once you’ve got your meal planned, don’t forget to also hit the drink section for some food cocktail ideas.
Don’t forget to shop our Amazon storefront, where we’ve listed all of our favorite tools, accessories, and anything else you could need.
Happy Thanksgiving!

